|
My group is Ashleigh, MIles , and me and we all decided that we were going to make the poor mans vr cardboard goggles and we want to create a vr scene of somewhere out in nature. For our vision we were not really sure what we wanted to do beside just doing the poor man's googles so that's what we did but Ashleigh came and thought that was lame so we wanted to make our own design.For our vr scene we also did not know what we thought we should do but we know we wanted to go out into nature and create it. DesignSo we all intend on making the poor mans vr . Me and miles started them by getting all the cardboard we went all over the place looking for the perfect piece of cardboard after we found it we printed out the templates and started working on them and we were almost done with cutting them out but things change and Ashleigh wanted to create and make her own design of the goggles. So she really didn't want to plan it out so we went out looking again for cardboard and once we found it we brought it back and Ashleigh didn't like it so she found this random box and we used it and the distance from the top to bottom was pretty close to 8 cm so we stopped on the poor mans and started with Ashleigh's design. So what we first had to do was make the box dark so that we could see the picture clearly and when we were looking for the tape ran out so we improvised and used red spray paint once that was dry we started working on getting the lenses on so Ashleigh used the flaps from the box and shortened them so she could add the slots for the lenses . After those were in place she made a stand for the phone that was lined up with it and was exactly 8 cm away from the screen. The last thing we did was we needed away to hold them so Andrew ordered elastic straps and then we putt them on the side and we were finished. These are the final photos of our goggles For our vr scene we were done with the googles and we still didn't know what we wanted to do so i just said what if we go to the bay and take a picture of the water and thats exactly what we did. It took a while to get the shot because we first did the photo in the water then in the grass. Ashleigh said that she wanted to get the ocean and the green in the shot so we got right in the sand and spun in a circle and got the photo below.  This is my still vr scene
0 Comments
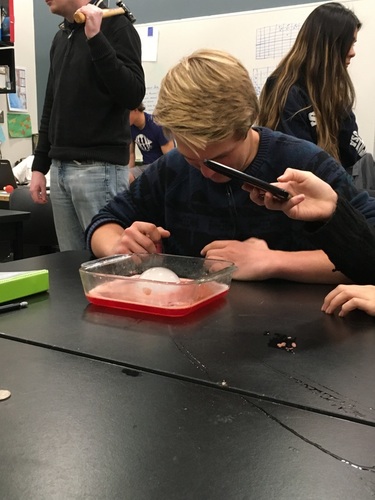
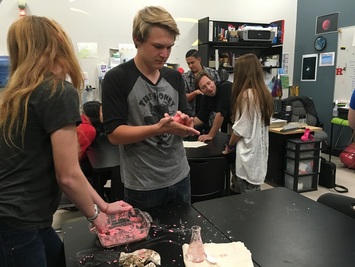
Coming into this lab I did not know to much about combustion but i know a little like a combustion is just the process of burning something but a combustion reaction is a reaction in which one of the reactants is oxygen and this method is used in combustion engines what is in a car. Looking BackThis experiment was very interesting and different from the other labs so what we were doing was creating hydrogen balloons and turning that hydrogen into water vapor to create water. First we had a flask with citric acid and once that settled we dropped strips of magnesium in and started a chemical reaction that was causing it to make hydrogen that was going into a balloon at the end of the flask. Our experiment did work and it worked fairly decent the only thing that was wrong was we got a little bit of water in the balloon so it wasn't floating like it was supposed to but when we heated up the balloon it did exactly what it was supposed to create a small combustion reaction turning the hydrogen into water vapor . Looking BeyondWhat I think is happening is that when the citric acid and magnesium combine the citric acid is eating away at the magnesium but I looked up and this reaction can only happen when water is present . So what I think is happening is the water is allowing the acid to move through the magnesium and once that happens it starts to create hydrogen and we captured all the hydrogen into a balloon . Once the balloon was full of hydrogen we hovered it over a small flame and created a small combustion reaction that led to the end goal of us creating water . Looking inwardWe did get good results everything played out as it was supposed to and I think we all got there as a group we went step by step and if we made a mistake we corrected that mistake but over all I think it went really well nothing bad happened .We all took turns doing things and worked as a group we had people working on the lab then we had people recording for evidence. I think I preformed alot better in this lab then I have in the previous labs I was more into it and I wanted to do the stuff and I didnt want to be the person just watching . Looking outwardI worked with a new group for this lab and I worked with David , Alex , Fernando ,and James Our group preformed a little weird we weren't really that focused but we were still getting it done and being able to observer what was happening I feel it was like that because we all joke around a lot but it was good to have a change. Looking Forward If I could do this lab again I would try to make everything perfect with no mistakes . If I were to do this lab again and had to choose another group I would go with the same people i usually work with. If i were to continue this lab I would like to learn and study more about combustion reactions and maybe make a little combustion motor or something. Take awaysI learned that in a group that you know how they are you should always try to take the charge and guide them back on track so things will get done faster
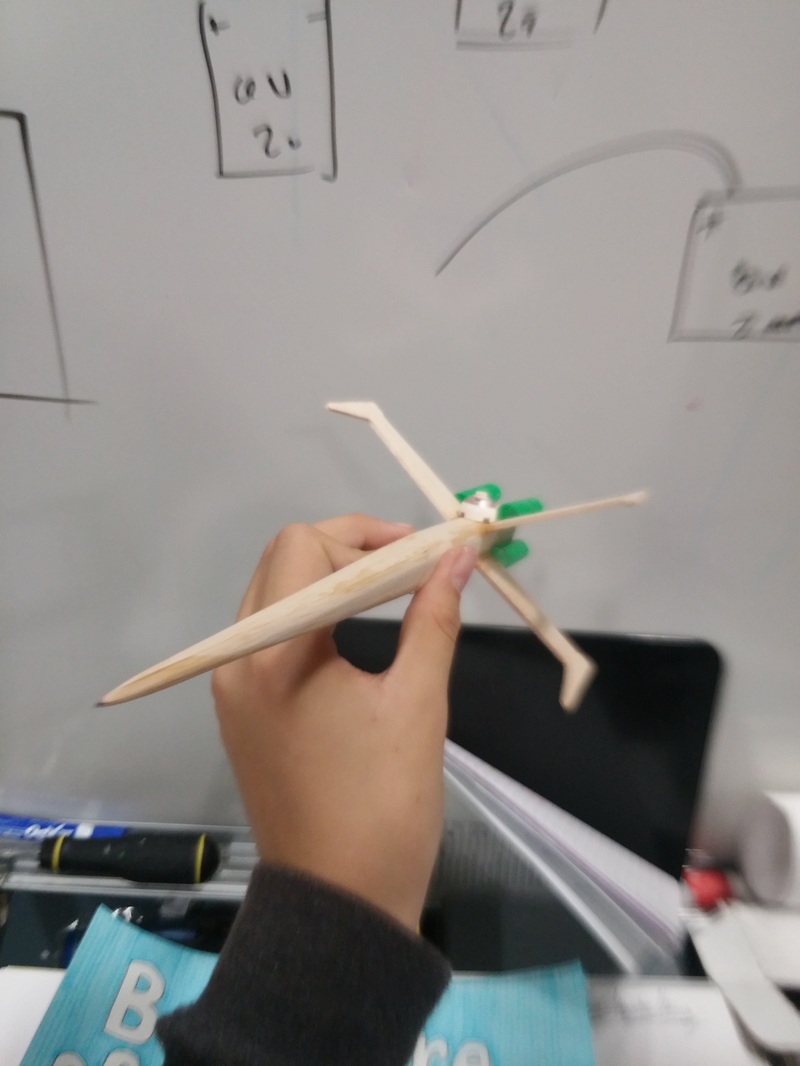
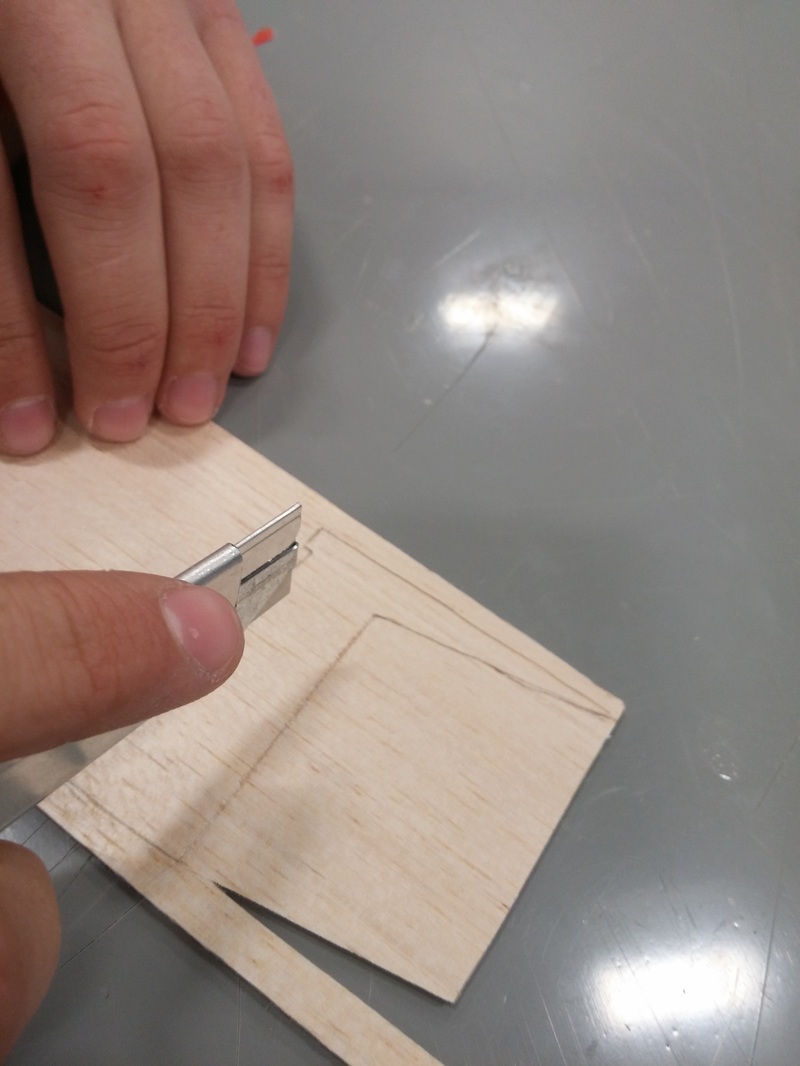
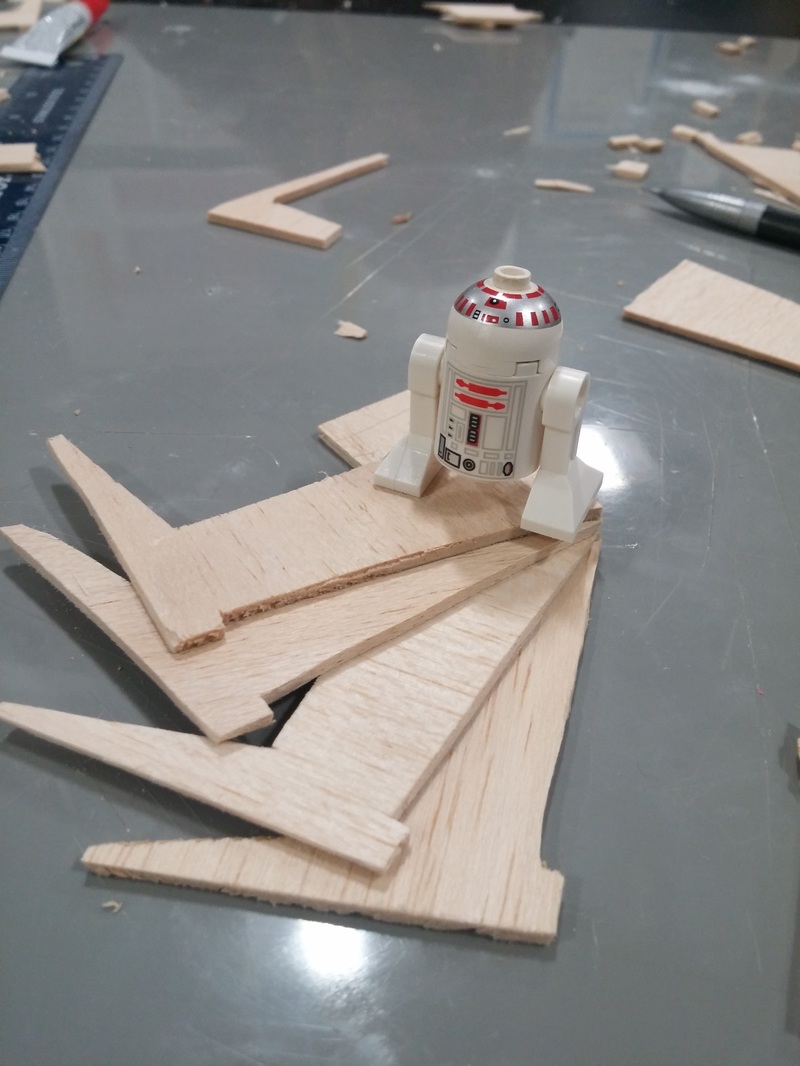
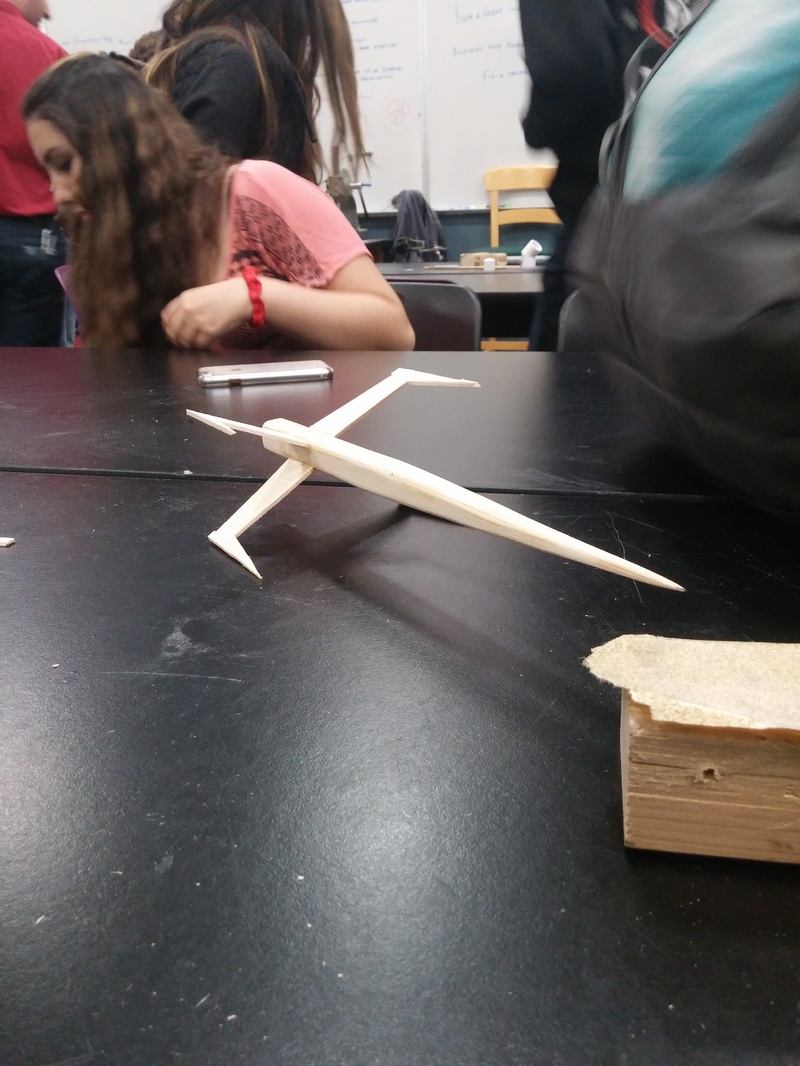
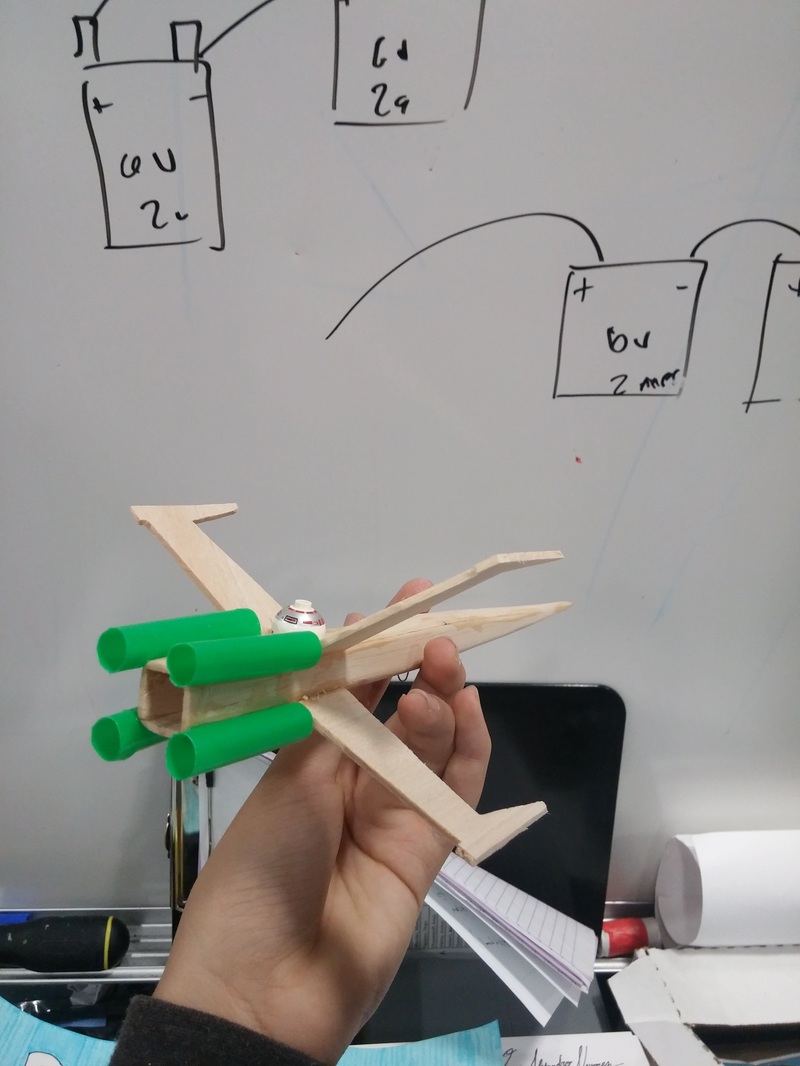
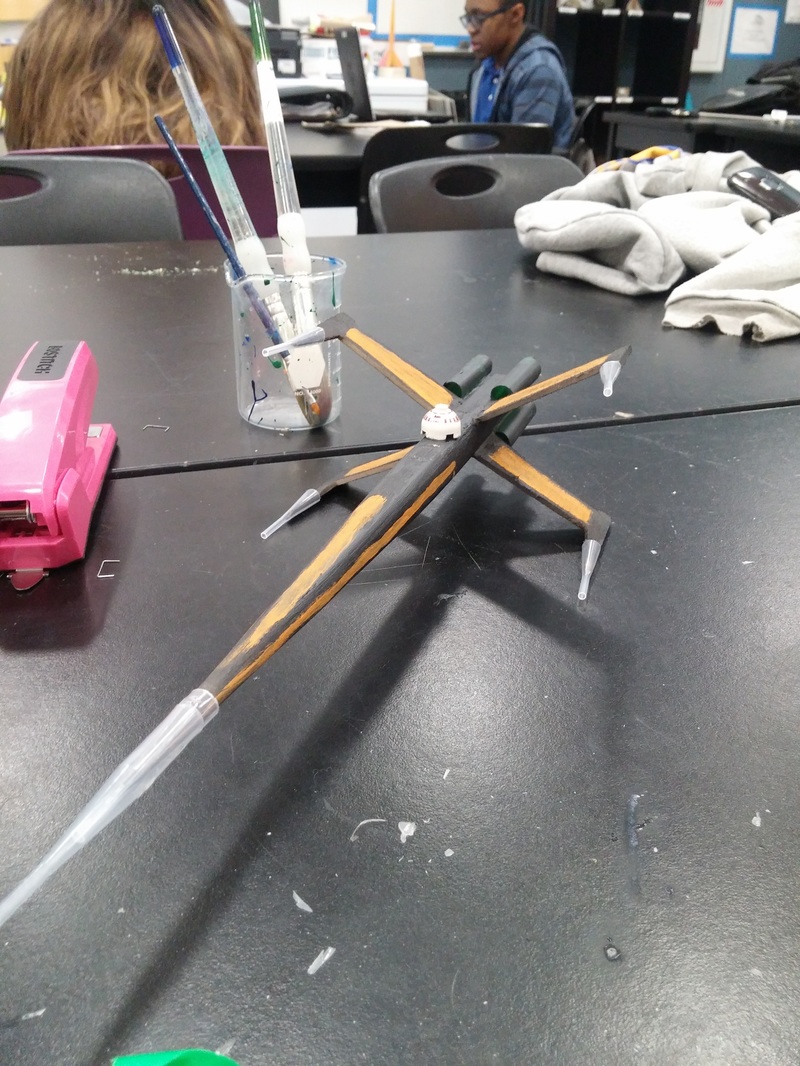
The Planning Stage Rocket Parts: 1 3inch by 12inch balsa plank 1 3inch by 6inch balsa plank for fins black and orange paint x-acto knife Super glue Who’s Doing What? We will both be taking equal part in all steps unless agreed upon otherwise. First me and Zach will come up with the design and finalize it . First we both watched Andrews video on how to make the basic rocket and we both agreed that we wanted to base our rocket of his . So I went in my journal and started drawing a designs and started getting what we needed to make it and i was going to make a normal rocket with flame fins but that soon changed . Next we will start getting the balsa wood ready to get the frame to cut we lined up all the frames and glued them together and got the base frame and went outside to go sand down the sides and get it as smooth as possible and once we got our base model the way we wanted we changed our design to an x wing. Then we will draw the cutting lines on the balsa wood to create the wings for our rocket and after that is all done we will launch our rocket The first photo to the left is what we based our rocket off of and going to the right is what it ended up looking like The Process Stage:So first off to even know what we were doing we had to watch the video and that just what we did and once we figured out what we needed to do we started. First we needed to make a base frame and the way we do that is by getting a piece of balsa wood and get the frame design you want so we drew 4 of them on there and cut them out and glued it together to get the base frame. Once we got that we went out side to sand it down to a smooth base. Once we were finished with making our frame it was time to move on to the creation of our fins . Since we decided to go for the rocket based of the x-wing our design was going to be a little bit different and facing the opposite direction.
The Testing Stage: So it was the moment we have all been waiting for will it fly or will it crash and burn who knows? Andrew had just finished showing us how to make motors on our own and he asked us if we wanted to launch with the one we just made . We both didn't want to because it looked so nice but whats the point of building it if we didn't launch it . So we were walking outside then I forgot it needed weight in the front so I asked Andrew if we could go get some led bbs but he said we were fine so I just went with it. We were outside all around he lit the fuse and ran we watched as it took off but to only like 10 ft and crashed. I was really disappointed but I knew what was wrong , First off we had a little lego on one side and that side was the direction it leaned to so that little weight set of the rockets flight path. Second we didn't have the weight in the top so it was tail heavy and didn't fly the way it was supposed to . Finally the motor we were using was to small and didn't have enough thrust to go more that 10 ft and it burned out really quickly so we need to make a more power full motor so it will fly longer and not burn out in 10 seconds . One more consideration I might want to do is make a bigger launch pole so it has time to stabilize the flight.
Looking Back
Looking Beyond I was really confused on what was happening at first like why would it go away if it was exposed to water or heat? At first i thought it was making a fog but knowing now that it a gas i am assuming that it is the carbon dioxide that is going into a gas form rather than the solid and that is what we are seeing when it is exposed to water. I did a little more researched on what dry ice actually is and why it does what it does. So dry ice is carbon dioxide in a solid form and when it is exposed to heat or pressure it starts to go through the phase changes. When it was exposed in the water it was creating a layer of water vapor and was being released back into the air . So another thing we did was when we just had the dry ice on the table I but a quarter on top of it and it made a really weird screeching noise and it did that because the heat of the penny was releasing the gas from the solid carbon dioxide but once the penny froze to the blocks temperature it stopped because there was nothing to heat it up and release it so the screaming stopped Looking inwardWe didn't really get results because we didn't know what we were looking for we just wee experimenting with the dry ice and not really seeing to what we were noticing . But we did notice some interesting things like we left a chunk of dry ice in the water and it stopped letting out gas and we were confused what was left it was just a chunk of something but didn't know if it was still solid carbon dioxide. Looking outwardI worked with Chiara,Rose,Emily,and Zach Our group preformed well we all got work done and still had fun. I wanted to see what would happen when you put the dry ice in a larger tray and i saw that the fog just kinda hovered over the fog and stayed inside the tray. Looking ForwardIf I were to do this again i would like to actually try to get some results in how much gas is released from a piece of dry ice by measuring the piece of dry ice then put it in a balloon and see how much bigger it gets and then measure the balloon. It was a interesting lab because I was told never to play or touch dry ice but that was wrong you just have to be safe about it and for any further experiments that i do i would like to check if there could possibly be any problems so i could know about them before they happen. Again I would choose my same group we all work well and when we are working we are all having fun. I did not find a way to continue this project for me. Take aways I learned to have a safer mindset and to not mess around because I just thought the dry ice was a from of water and that the fog was harmless and i was messing around and sniffing it when i probably shouldn't have done that so next time we do anything i need to be more cautious. I need to assume that everything is possibly dangerous or harmfull so just be smarter in the lab and have a little more common sense.
Looking Back
Our experiment was done in a glass tray and we colored our oobleck red but it came out pink . The oobleck itself looked very chunky and looked as if it hadn't fully mixed well with the water.When I researched what oobleck actually is i learned that it is a solid and a liquid at the same .Oobleck is a non-Newtonian fluid so if you move it slowly it will act as a liquid . When you apply force to it the oobleck acts as a solid . So the molecules move around freely when it is getting pushed around .When you hit the oobleck the molecules tighten up and act as a solid. Looking Beyond I was very confused at first why it was slimy when it was moved around and acted like a liquid . Then when I would punch it or poke it . It would become a solid and I was wondering what makes the oobleck both solid and also a liquid and is it one or both? Also how come it dried up so fast when it wasn't being touched . Was that a result of it being a solid when nothing is reacting with it .Oobleck is a non-Newtonian fluid so if you move it slowly it will act as a liquid . When you apply force to it the oobleck acts as a solid . A non- Newtonian fluid is a fluid whose flow properties differ in any way from those of Newtonian fluid . Looking inwardI think we did get desirable results it acted like oobleck but it didn't really feel like it was supposed to . I thought it was going to be more gooey and after the experiment is over we probably could have added more water. In this activity at first i was kinda distant with it I really didn't to touch it but after a while i started to experiment with it . Looking outwardI worked with Rose,Emily,Chiara,and Zach I feel our group performed well we were having fun and also understanding what was happening during the experiment and we all are Friends so theirs no problems working with each other. I was the one that started mixing the oobleck but then i thought it wasn't working so i handed it to Zach. Looking Forward If I could do this experiment again I would want to add alot more water to the corn starch because it didn't really fully go to the way it was supposed to and was really dry and it just felt weird. For the next lab I would want to work with the same people because we had fun and we all work well with each other. We also understand what we are doing . I really dont see anymore ways that you can go deeper into other than studying why it acts the way it does and find other things that act like oobleck. Take awaysI learned I need to get more involved even if I don't like how it feels or what is happening and for next time we do something that might get messy have something under so the tables don't get dirty.
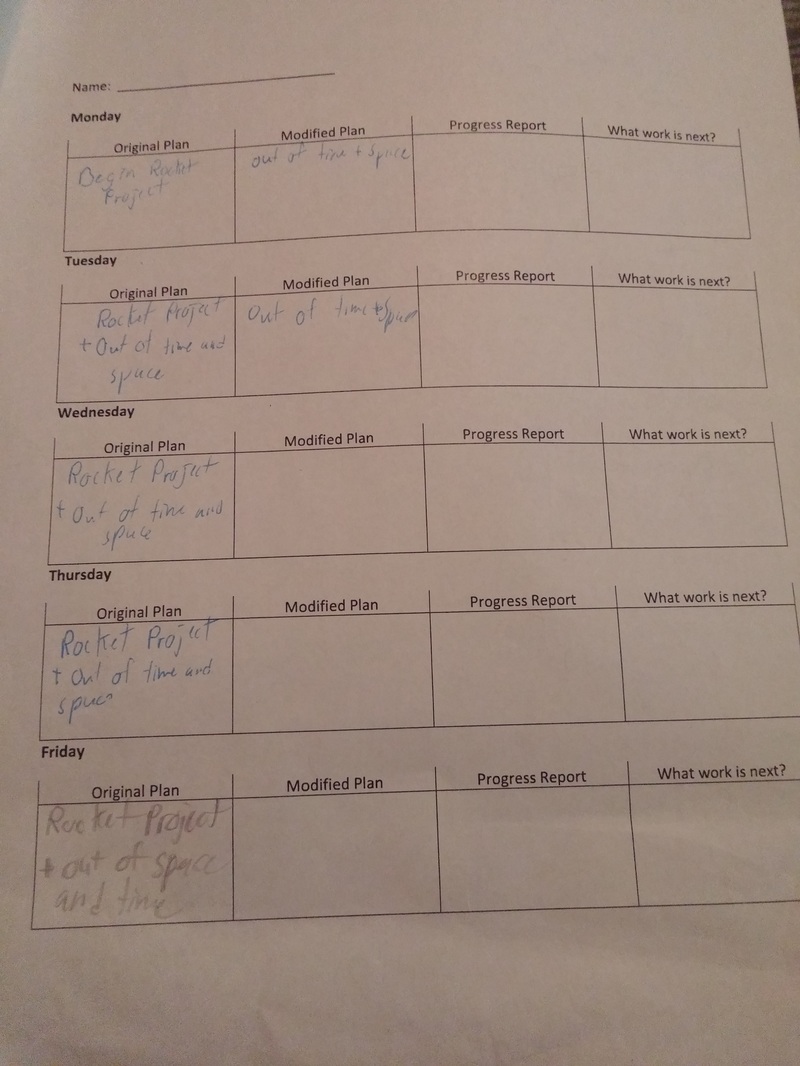
For week 2 I want to start of strong with the rocket project and I want to focus mostly on the rockets but I also want to work on the out of space and time. Edited 2 week planSo the first 2 weeks were pretty great but didn't go so much as planed i thought i was going to be able to manage 2 projects at the same time but that didn't happen i didn't even get to start the second one . But now I know how this class works and to not over plan and do what I think I can do and if I finish it then I can move on to my second project.
"We are part of this universe as I have said many times and goes back not only are we in the universe, the universe is in us" ~Neil Degrasse TysonWhy did you choose this quote?I choose this quote because it really struck me and hit me deep and when I heard this I was just sitting there thinking about how out of everything out in the universe it choose to create me but not just me everything around me was created from something . To hear that we are star dust really changes my perspective on things how lucky I am to be here right now. What does this quote mean to you?It gave me something to think about and question my purpose . I am not just saying that like to think we were all once star dust form a star that exploded and traveled here and we were made from that is amazing and tells me that I should enjoy this beautiful thing called life and not take it for granted. What thoughts does it provoke?Knowing that I am connected with the universe in some way makes me happy and gives me more to think about and more curiosity on how we were created . Making me want to explore more and figure out more about our self's.
|